Show a warning before scheduled ad breaks and a countdown during ads directly in your OBS scene.
Setup Guide
Requirements
- OBS Studio
- Streamer.bot with Twitch connected
- Streamer.bot WebSocket server
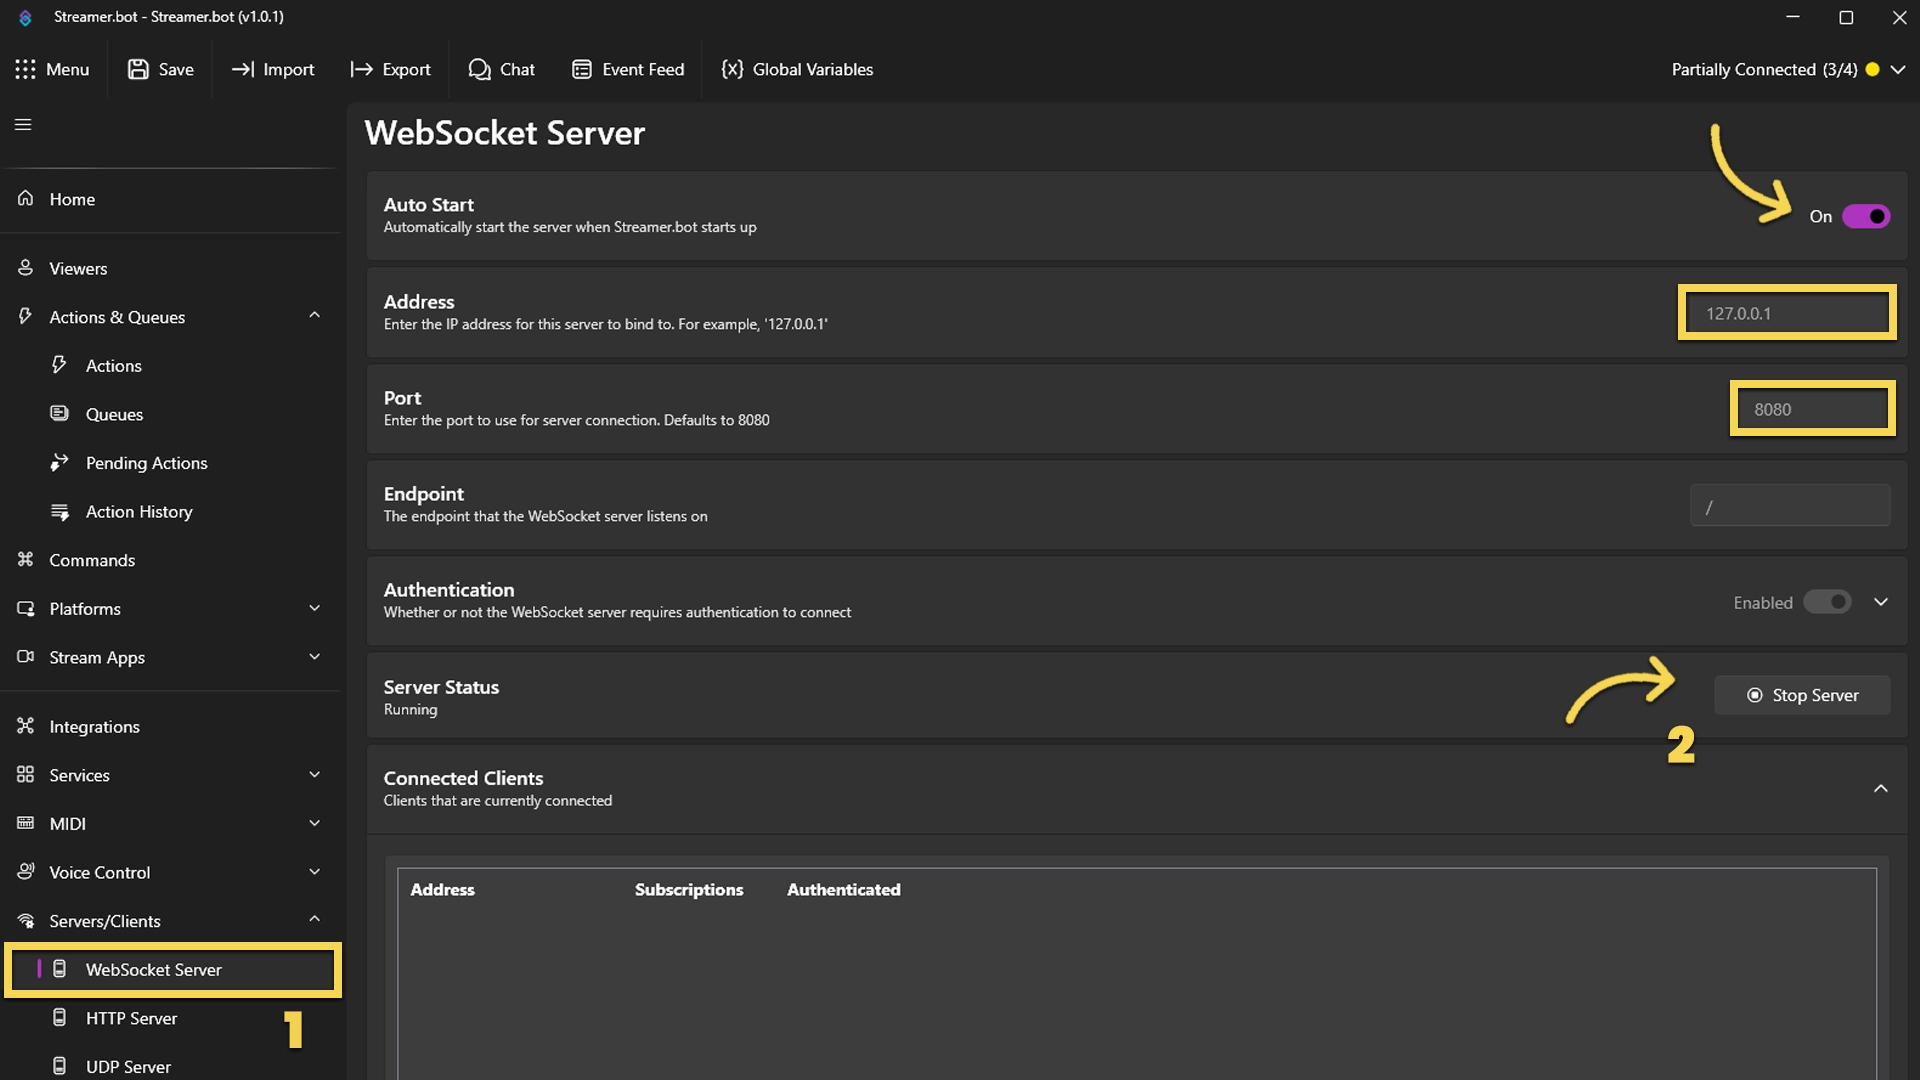
Start WebSocket Server
Go to the tab Servers/Clients → WebSocket Server. Enable Auto Start WebSocket Server. Address 127.0.0.1. Port 8080. Optional password. Leave Enforce All Requests unchecked. Start the server.
Copy Browser Source URL
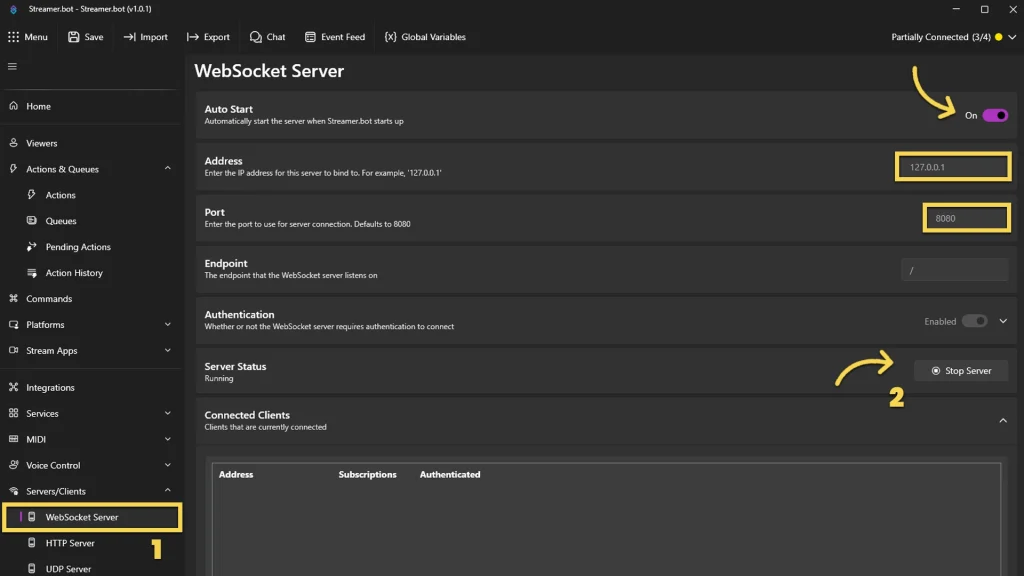
Copy the Browser Source URL from Quick Access.
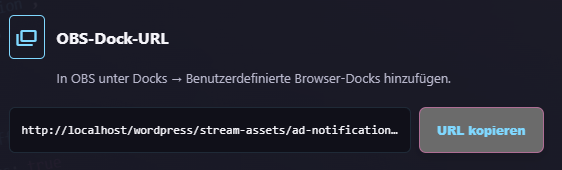
Add Browser Source in OBS
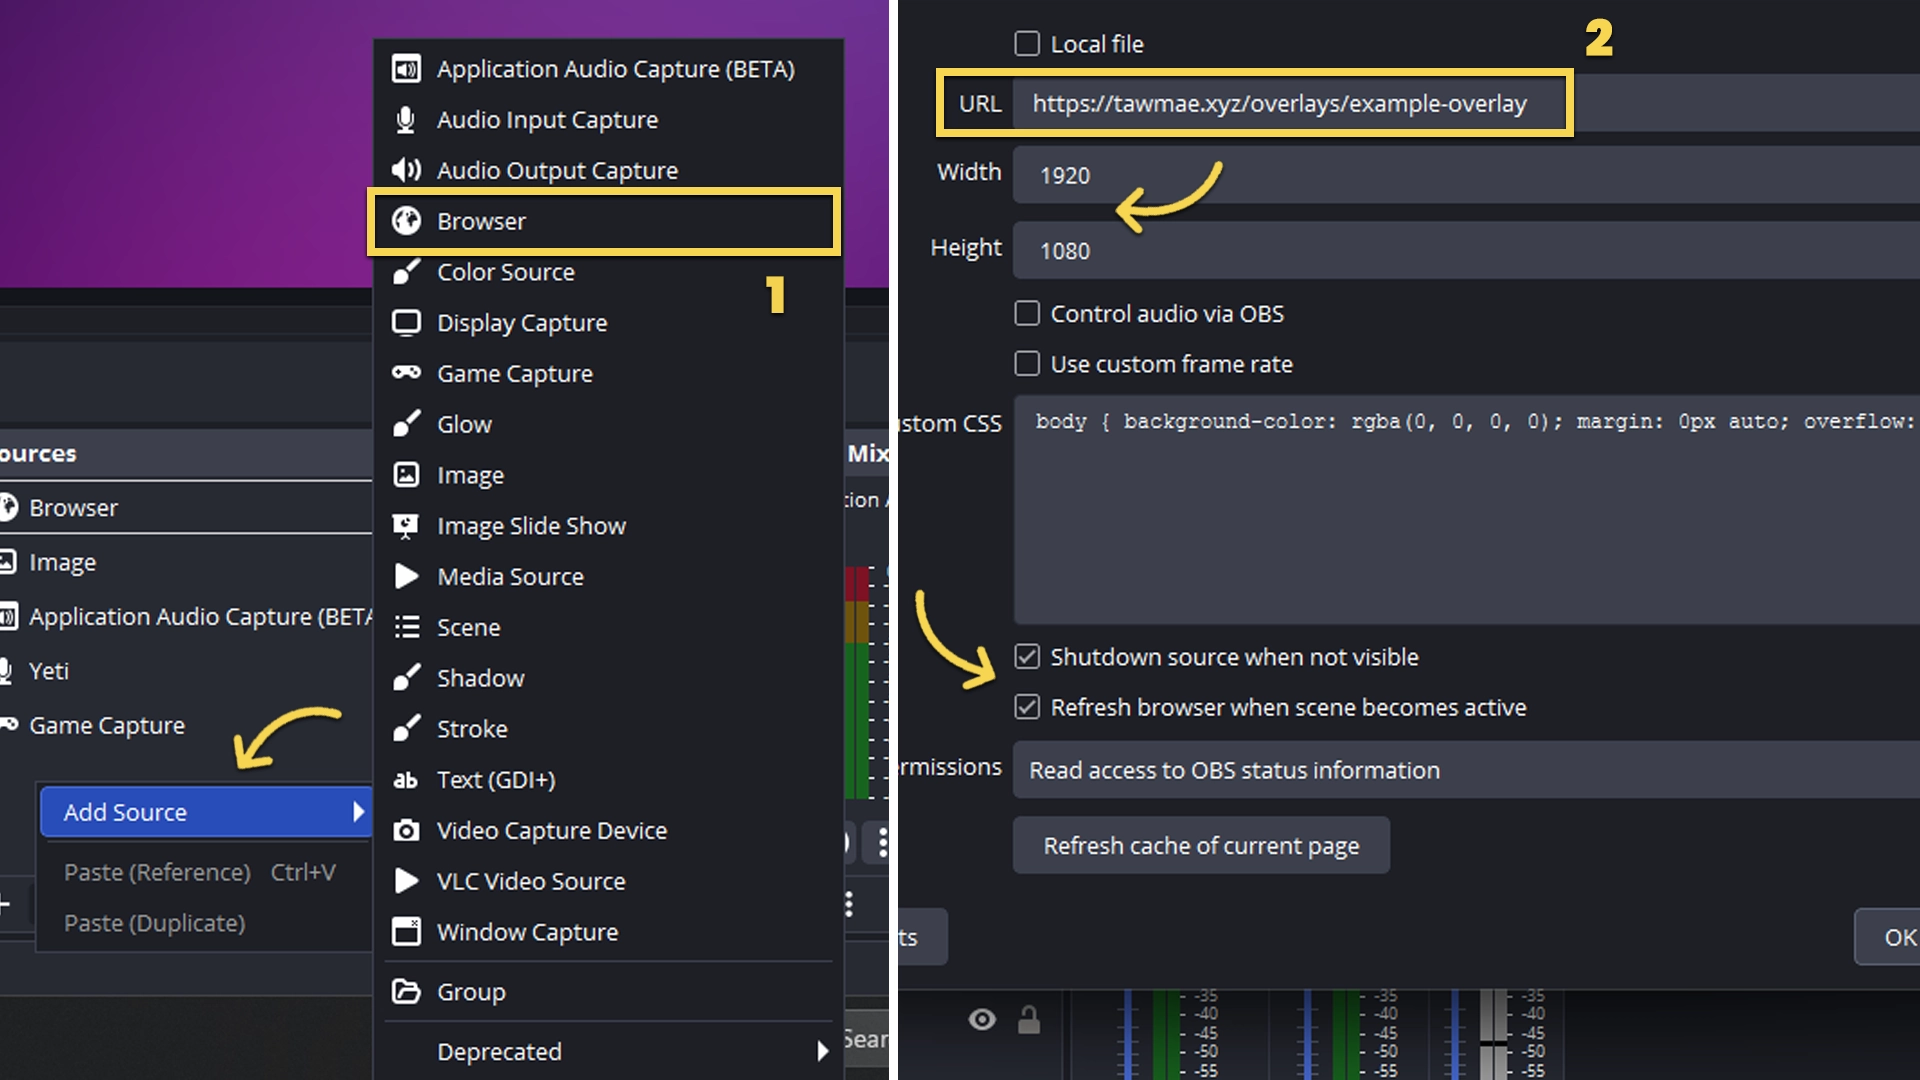
In OBS create a new Browser Source. Paste the URL. Set Width and Height to your OBS canvas size, so 1920x1080 for most people.
If you want to have the browser source in multiple scenes, don't create a second browser source. Instead, use nested scenes or source clones.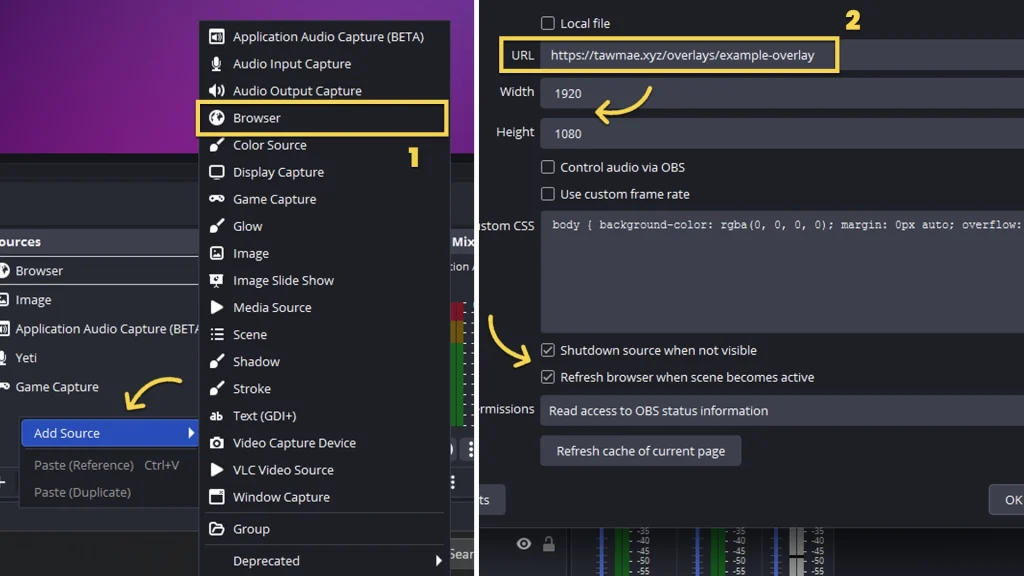
Done!
The setup is now complete.
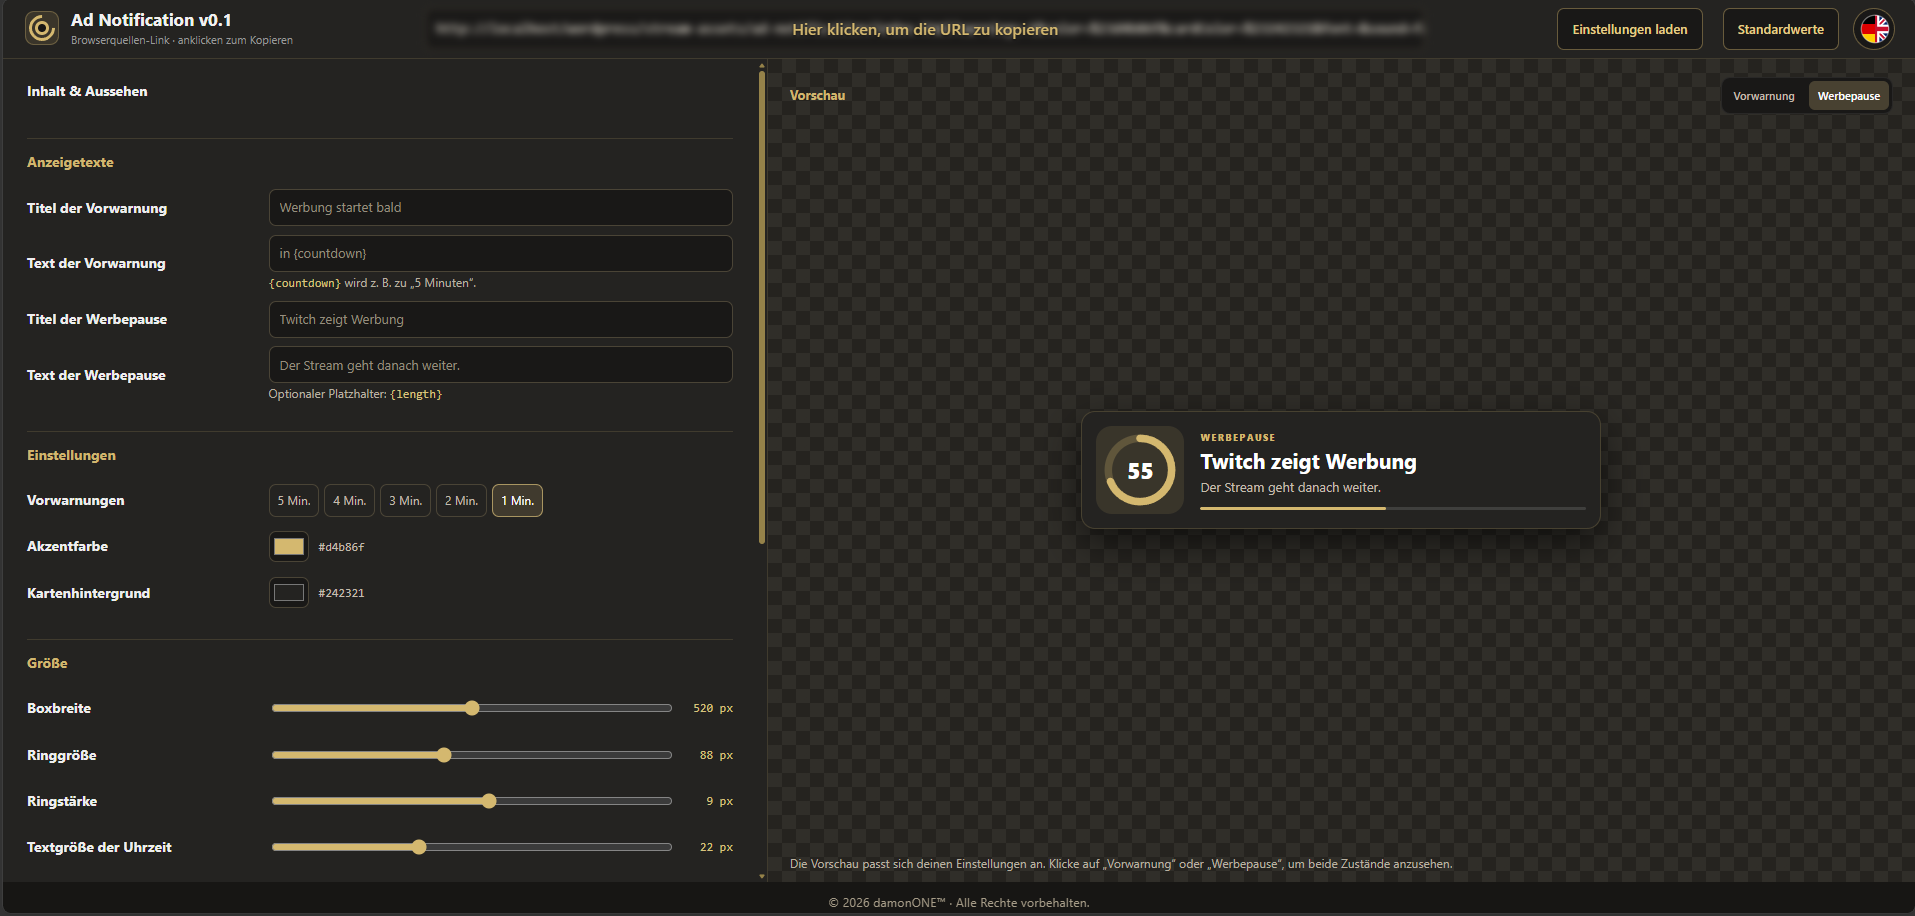
The Settings Panel
Text and Appearance
Open the SettingUI to customize the text, colors, and overall appearance to match your stream. Use the preview to review and verify your changes.
Use in OBS
Copy the generated overlay URL into an OBS browser source. Use the width and height shown in the preview.
Write a review